Whats the Best Way to Collate Pages for a Book With Pictures to Upload to Create Space
Information technology cannot exist overstated how important your book cover is. It'due south the commencement impression, the spark that drives a reader to learn more than about your book. And in that location's one sure-fire way to lose that reader's interest; a comprehend that is poorly designed or has a misaligned volume spine.
I've written at length near cover blueprint. So instead I'k going to expect at a less often covered aspect of cover creation; the technical build of your file. This includes designing for bleed and correctly placing your spine, as well as the critical task of planning for variance.
What Is A Book Spine?
A volume's spine is the center of the cover, the narrow (or wide) edge where the pages are bound. There are a lot of dissimilar means to bind a book. For our purposes, we're going to focus on perfect bound books considering it'southward one of the most commonly used binding methods.
Perfect bounden involves milling the spine edge of the pages to create a series of notches. Then the gum is rolled over the spine border and the book block is pressed into the encompass until the glue sets. This glued border becomes the book'due south spine.
Cover Maker Best Practices
Your book's spine is one of the bones parts of a book that tin can exist tricky to pattern correctly. Even though your book cover has three distinct parts (the front end cover, the spine, and the dorsum embrace) you need to design the cover as a unmarried, complete file. Here's a look at a standard, US Merchandise encompass template:

We're going to pause this template down a bit and understand how to build your eye-communicable book embrace. Let's start with the basic trimming margins.
Bleed Edge
Books, you lot may accept noticed, are incredibly uniform. Printers accomplish this by printing the pages oversized, then trimming every page to the exact size. The stack of pages, ofttimes called a book block, can be cut down precisely to become a clean stop.
But doing then means some modest portion of the page is lost. Nosotros telephone call this edge the 'Bleed Margin.' You lot'll discover on the template to a higher place it's listed equally the TRIM / BLEED Area. What happens is that we impress the pages for your book besides large by ¼ inch. So a 6 10 9 book is printed at 6.25 ten ix.25 and that actress ¼ inch is trimmed away – resulting in about ⅛ inch on each side (this includes the spine side) existence cutting away.
For most book interiors, this is small-scale because the pages are white or cream and the contents (your story) are nowhere near the edge of the page.
Covers are very different. Your cover is going to take fine art/ink right up to the edge. This means you'll need to exist careful to plan out your cover with no important content in the TRIM / Bleed Surface area as shown in our book cover template.
Bleed & Your Spine
Okay so let's expect at this template 1 more time.

That purple bar represents where a spine will get in your cover blueprint, only it's non THE spine for your book. Unless you're interior file is exactly 22 pages long. In which instance, yes this book spine is perfect.
But for most covers, the spine width will vary based on your page count. Then you have to create a spine to size based on your book—and here lies the nearly challenging office of embrace design.
Yous run across, the spine itself isn't really impacted by bleed, simply its position on the cover is. Fifty-fifty without changing anything about your file, the precise location of your spine tin shift very slightly from one press to the next. This isn't a print-on-demand issue either, information technology happens with starting time press too.
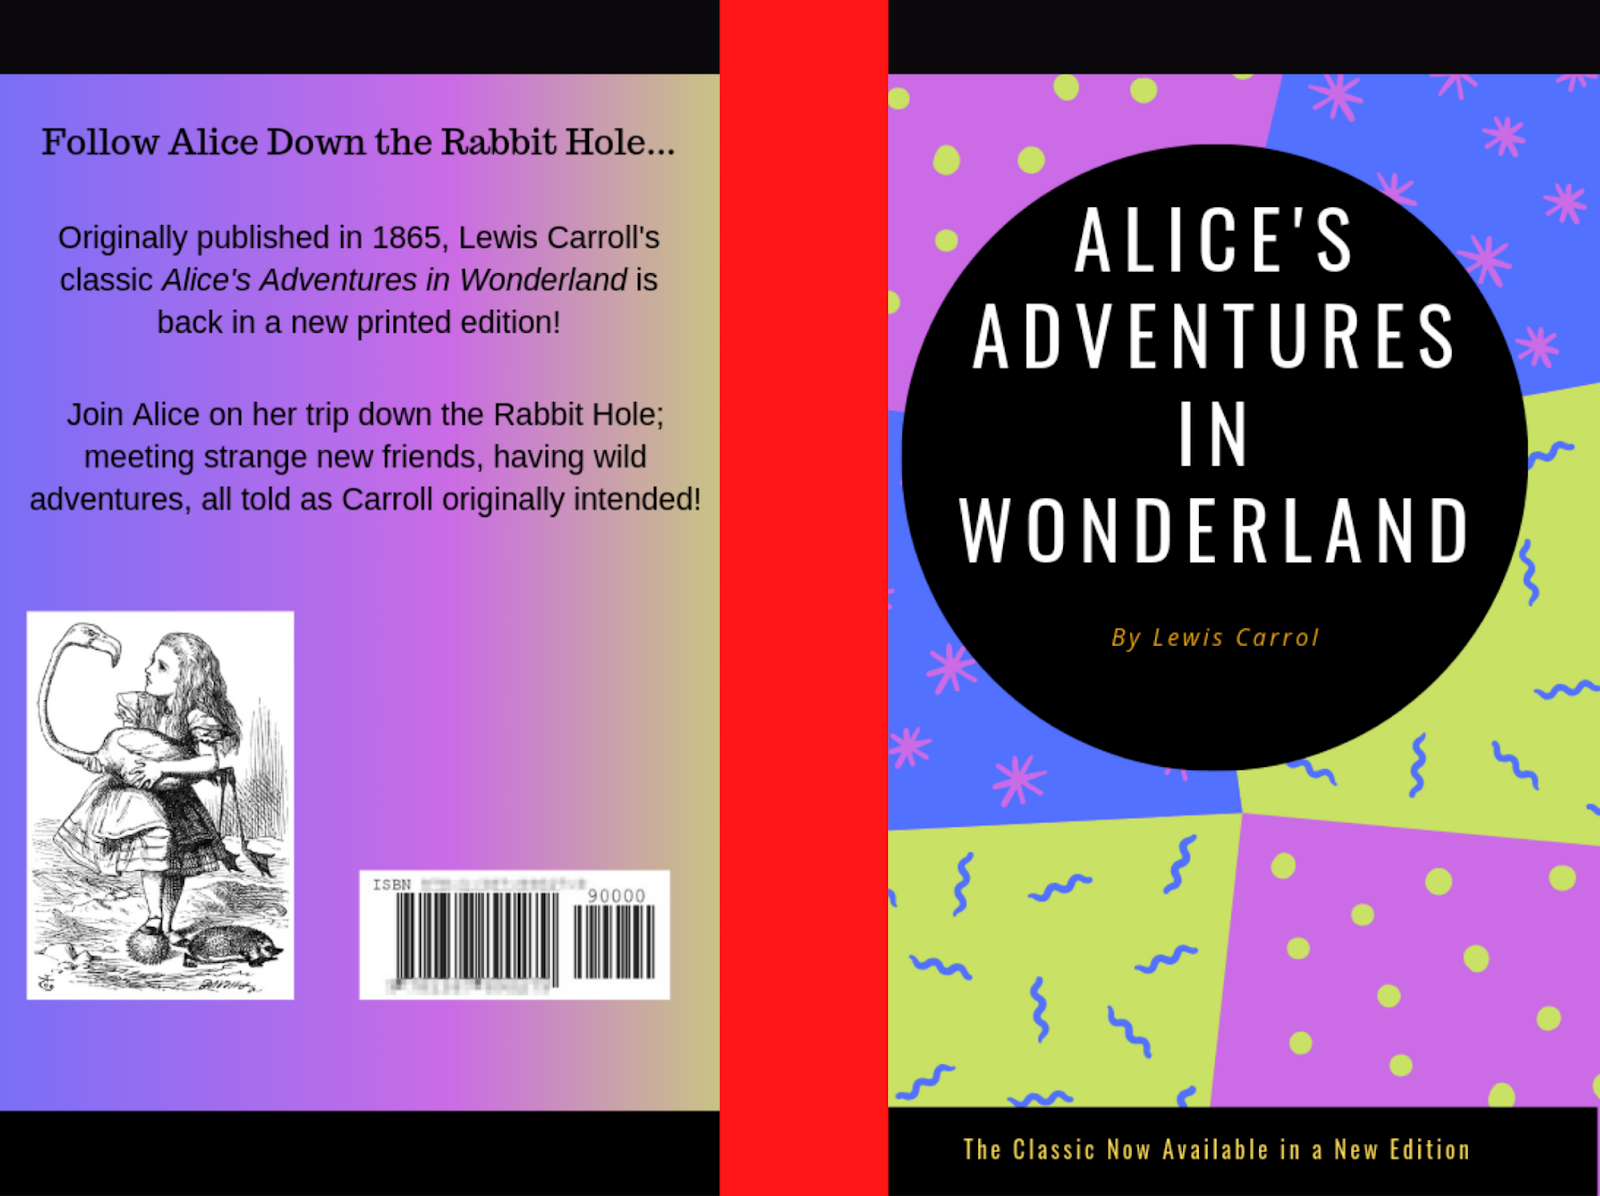
Let's use this cover I created as an example:

Ignoring the awful colors, you can see how I've created the spine equally a 'bar' down the center of the cover. Here's another look where I've highlighted the exact spine location in red.

When I have this book printed, I naturally would want the Cherry spine surface area exclusively on the spine, while the front and back cover feature their own artwork. But in practice that won't be exactly what happens. We phone call this variance.
Variance And Your Book Comprehend
Putting everything nosotros just looked at together, you accept a embrace that is printed simply slightly too big and trimmed down, and a spine set up to the center of your encompass file. When the edges go trimmed, the exact position of your spine might shift by a tiny fraction of an inch. Like, simply the tiniest bit. This is variance. And even being a very pocket-sized shift, it can be enough to change the advent of your cover.
And it simply matters if y'all create a cover with a spine like my instance above. If y'all brand your spine a stand-out color—similar red red—information technology's going to be very noticeable if the spine shifts onto the front or back cover.
Spine 'Rules'
These aren't hard and fast rules, simply if you lot don't follow them and your spine runs over onto the forepart or back cover…well I kind of told you lot so.
If your spin has unique colors or designs, include them for at least ½ inch on the forepart and behind.
That ways creating your uniquely colored spine as a 'band' that runs onto the front and back embrace. Linen-wrapped hardcover books are often created in simply this fashion.
Looks ugly, I know, but you can of course style your encompass to wait slap-up.
Spine text must exist centered and must exist small enough to permit at least ⅛ inch on either side.
Our Book Cosmos Guide includes a great book spine calculator. Size the text to a point measurement that is half or less the width of your spine. I'll go into how to figure that out next. First, I have ane more rule.
Create your volume embrace as one complete file, not three unimposing parts.
For the purposes of sizing, you might brand a forepart and back cover, and then layer them over the template to get the spine size. That's fine. Merge those elements at this betoken and work on the concluding cover as a complete file.
Make sure the colors are matched or blended at the spine so that you're not left with variance ruining an otherwise amazing comprehend!
Book Spine Formula
Here'southward the basic formula for the spine width in inches, for a paperback book:
(# of Interior Pages / 444) + 0.06 in
Now take note: you lot do NOT have to apply this formula to notice your spine size. If you upload your interior file, we'll generate a template for you lot that includes the exact spine size based on your file. That said, sometimes you have a designer working on your cover before you're ready to upload your book. In that instance, you'll desire to use the formula to become the right spine size.
Let'south apply this formula to think virtually spine text. For this example, permit's use a 200-page book.
(200 / 444) + 0.06 = 0.51
So that means our spine is 0.51 inches wide. I want to add some text to my spine – similar the book'southward title and my name. Just similar the business organization about using a unique spine color, we have to allow for variance when setting our spine text. Imagine how ugly it would be to have spine text bleeding over onto the front or dorsum encompass?
Spine Text Placement
To begin with, always eye your spine text on the center of your spine—which should also be the centerline of your cover file. Working from our 200-folio interior file example, we've got a 0.51-inch spine.
Text is unremarkably measured in Points (pt).

1 Point is equal to one/72 of an inch. I know, we're doing a lot of math. I'g sorry.
Let'southward say I want my text to be 14 point. Pretty standard size for cover text. If nosotros do the math nosotros get:
fourteen x (1/72) = 0.194
That ways our text is just nether 0.20 inches in height. Leaving the states that divergence between spine width (0.51 in):
0.51 - 0.194 = 0.316
Nosotros want to include enough margin to permit for the unabridged drain margin, which we know is ⅛, or 0.125 inches, on either side fo the text. Final bit of math, I promise.
0.125 x 2 = 0.25
Since 0.25 < 0.316, we know nosotros'll have a footling more than the bleed size in extra infinite on the spine. We could probably go up to 16 Point font if we wanted! Giving this allowance means whatsoever modest variance in trimming at the printer won't cause your spine text to run over onto either the front or back cover.
Carefully Design, Carefully Review
I know I threw a lot of math at you today. And for that I am sorry. Just encompass blueprint is an exacting project, in particular, because the bodily printing and trimming are, by its nature, inexact. The margin for variance is very small, just a fraction of an inch, merely as we all know, your cover needs to exist perfect.
Lucky for you, we provide a terrific preview tool to review your cover after you upload it. Here's what my cover looks like, uploaded with the spine for a 200-page volume, spine text at 16 Point:

It's a little tough to see, but the 'Folds' are showing right on the edge of the spine as blueish, dashed lines. Based on the previewer, I can run across that my spine placement is perfect!
Of course, there may exist some variance, but with the location of my spine text providing aplenty room on either side, I tin residual assured that my spine will print well.
Book Spine Best Practices
It might seem a fiddling tiresome, only paying careful attention to cover design is worth the headache. With the potential for very slight variance in printing that might impact your spine, you really accept to pattern with this in mind.
Remember near variance and bleed when creating, consider what the book spine will look like printed, and please (please!) blueprint a spine the incorporates the front end and back embrace. Trying to build a book spine singled-out from the rest of the cover is a recipe for disappointment.
Source: https://blog.lulu.com/book-spine/
Post a Comment for "Whats the Best Way to Collate Pages for a Book With Pictures to Upload to Create Space"